When it comes to acrylic painting, the quality of the surface you use is extremely important.
If you’re looking for a smooth, even surface that will produce great results, priming your wood before you start painting is a must. But how do you prime it so your paintings turn out to look their best?
In this post, we’ll walk you through the steps of priming wood for acrylics and offer tips on making the process as smooth as possible.
We’ll also take a look at how to choose the right primer for your project. Let’s get started!
How to prime wood for acrylic painting?
What is wood priming and why do you need to prime wood before painting it with acrylics?
Wood priming is a process used to prepare wood surfaces for painting or sealing with paint or other finishes. Priming helps improve the adhesion of the coating, as well as provides a layer of protection from staining and other environmental factors that can cause rot or discoloration over time.
- Priming wood before painting helps to create a smooth and even surface for the paint to stick to.
- This is particularly important when using acrylics, which are thinner and more prone to running or dripping than other types of paint.
- Another reason why priming wood before painting with acrylics is important is that it helps to seal the wood and prevent moisture from coming through later.
- This can help protect the wood from staining or absorbing excess paint, which could cause peeling and flaking over time.
- If you are working on a large project, priming your wood before painting with acrylics can also help to save time and prevent frustration by making your painting easier and more consistent.
Steps to Prime Wood for Acrylic Painting
1. Start by sanding the surface of your wood thoroughly with medium-grit sandpaper. This will help create a smooth, even base for your paint and better prepare the wood to absorb the acrylics.
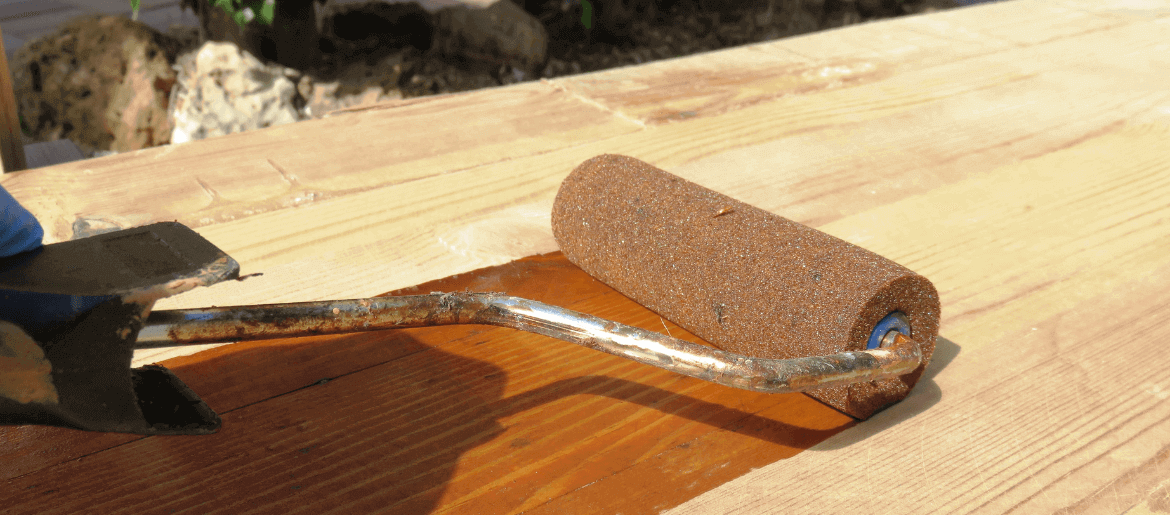
2. Next, apply a layer of gesso to the surface of the wood using a small brush or roller applicator. This will create a smoother finish and also provide an even surface that you can paint on more easily.
3. Allow the gesso to dry completely before moving on to the next step – it should take about 15-20 minutes depending on how thickly you applied it.
Once it is completely dry, sand down any rough spots or uneven areas and then apply another layer if necessary.
4. As you continue to prime the surface, remember to sand it down between each coat of gesso to get a smooth finish.
You can also use fine-grit sandpaper at the end of your painting process once you have finished applying your acrylics as well, as in some cases the wood may not be completely smooth.
5. Finally, allow the primed wood to dry completely before you begin painting on it with your acrylics.
Make sure that you follow all of the instructions for applying and drying your paint carefully so that you get a beautiful, long-lasting finish on your artwork.
How to choose the right primer for your project?
Choosing the right primer is an important step when working on a project. There are several factors you should consider when making your selection.
1- Type of substrate
Not all primers are suitable for every type of substrate. Make sure to choose a primer that is compatible with the material you’re working with.
For example, if you’re working with wood or metal, you’ll likely need an oil-based primer. Alternatively, if you’re working with plastic or concrete, you’ll want to use a water-based primer.
2- Color
Primers can come in different colors, so it’s important to choose one that will enhance or complement the material you’re using without overwhelming it.
3- Coverage
Some primers provide better coverage than others. If you’re working on a large or complicated project, choose a primer that will provide complete and even coverage with minimal coats.
4- Performance properties
Another factor to consider when choosing a primer is the desired performance properties. Different primers may offer different levels of durability, water resistance or adhesion, so it is important to choose a primer that will provide the desired results.
5- Where the primer will be used
Finally, you should consider where the primer will be used. If it will be used indoors, then you may want to choose a low- or no-VOC primer.
On the other hand, if you plan to use the primer outdoors, then durability may be a more important consideration than VOC levels.
How to apply primer to your wood surface?
Applying primer to your wood surface is an important step in any wood finishing project. There are a few different methods that you can use, depending on the condition and type of wood that you are working with.
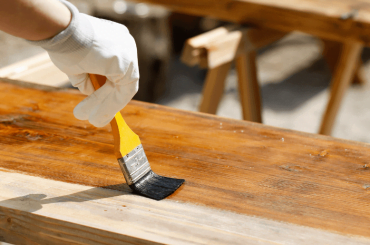
One of the most common methods for applying primer is to use a brush or roller. This can be a good option if you are priming a large or flat surface.
However, if you are working with wood that has a lot of uneven texture, this method may not work as well for you.
Another option for applying primer is to use a sprayer. This is often a good choice for uneven surfaces since it allows you to get an even coat of primer on the wood, even if it is not completely flat.
No matter which method you choose, the most important thing is to apply the primer in even layers and allow it enough time to dry before applying any top coats.
Tips for ensuring a smooth, even finish.
- Use the right kind of paint for your project.
- Choose a color that will work well with the room.
- Make sure all surfaces are clean, smooth and free from any bumps or imperfections before you start painting.
- Paint in thin layers to avoid unsightly drips and splatters, allowing each layer to fully dry before applying the next.
- Use a high-quality paintbrush or roller to achieve an even finish. Avoid using rags or sponges, which can leave behind visible streaks and uneven textures.
- To achieve a glossy, smooth finish, apply a clear protective topcoat once your paint has completely dried.
- If you are painting a large area or multiple walls, be sure to use a ladder or step stool that is sturdy and properly secured. This will help ensure your safety and prevent any accidents from occurring while you work.
- Finally, take your time and have patience as you finish painting. Be meticulous in your application to achieve the best possible results.
With a little practice and the right techniques, you can create beautiful, even finishes that will stand the test of time.
When and how to seal your primed wood surface with an acrylic topcoat?
There are a few key factors to consider when sealing your primed wood surface with an acrylic topcoat, including the type of primer you are using, the quality of the wood surface you are sealing and the level of protection that you need from your topcoat.
Generally speaking, it is best to wait until your primer has completely cured before applying your topcoat, as this will help ensure that the final seal is strong and long-lasting.
You may also want to consider applying an additional primer coat between your primer and your topcoat, particularly if you are working with older or more damaged wood surfaces.
FAQs – Prime Wood For Acrylic Painting
What kind of primer do you use for acrylic paint?
There is no single answer to this question, as different primers may work better for certain types of acrylic paints. Some artists prefer water-based primers, while others may opt for oil-based primers.
It is generally a good idea to choose a primer that works well with the specific type of acrylic paint you are using and to experiment with different primers until you find one that works best for your purposes.
However if you are looking for a primer specifically for use with acrylic paints, some good options include Liquitex Acrylic Gesso Primer and Golden Acrylic Ground for Pastel and Oil Painting.
How do you prepare a board for acrylic painting?
- Begin by cleaning the surface of the board thoroughly with a damp cloth or using a mild soap and water solution. Allow the board to dry completely before proceeding. If necessary, lightly sand the surface of the board to help create a smooth, even base for painting.
- Tape off any areas of the board that you do not wish to paint, using painter’s tape or masking tape.
- Apply a thin layer of gesso to the board, using a wide brush.
- Allow the gesso to dry completely before proceeding with your painting project. Once it has fully dried, apply a second layer of gesso if needed to create a smooth and even base.
- Choose your colors and begin painting the board, using acrylic paints that are specifically designed for use on wood or other surfaces.
What happens if you don’t use a primer before painting?
There are several potential consequences if you do not use a primer before painting.
- One of the most common is that the paint may not adhere as well to the surface, resulting in an uneven or patchy appearance.
- Additionally, without a primer, it can be more difficult to achieve even color coverage and hide any flaws in the surface beneath the paint.
- Finally, if you are painting a porous surface such as wood or drywall, it is especially important to use a primer first. Without priming the material first, it will likely soak up large amounts of paint, making it more difficult to achieve an even finish and driving up the costs of your project.
Ultimately, whether or not you use a primer is largely a matter of personal preference.
Final words
There are many ways to prime wood, but we’ll focus on two of the most common methods: using an acrylic primer or gesso. Both of these primers have their advantages and disadvantages, so choose the one that will work best for your project.
By following these simple tips, you can prime your wood for acrylic painting and achieve the beautiful results you desire.
Be sure to experiment with different techniques and products to find what works best for you and have fun with this creative process!


